
服务热线:0472-6962770

Company profile
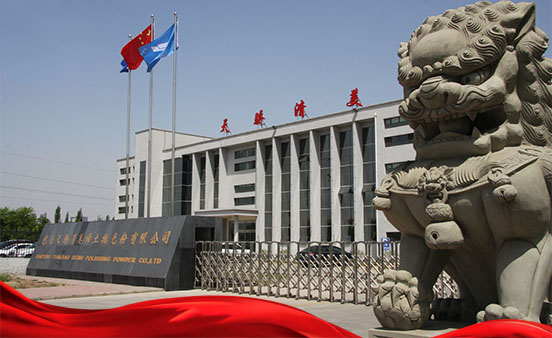
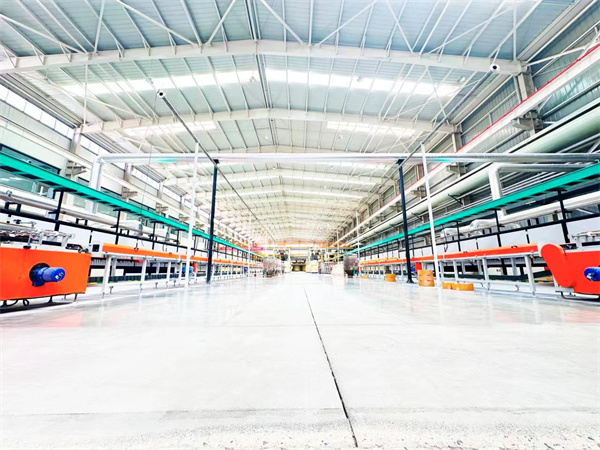
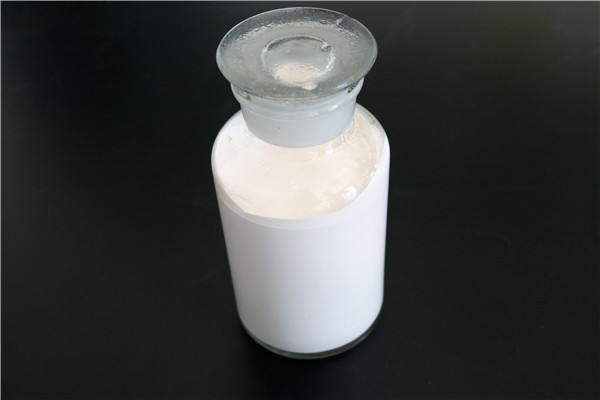
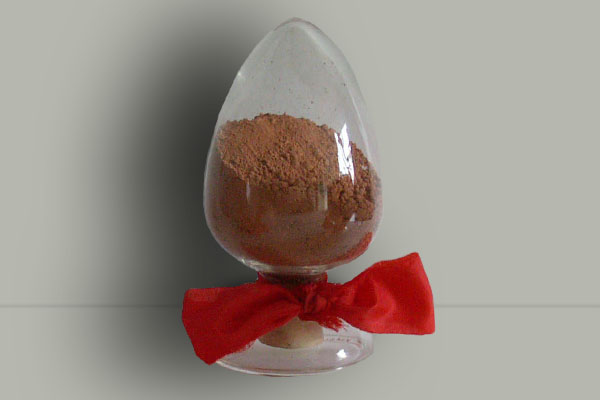
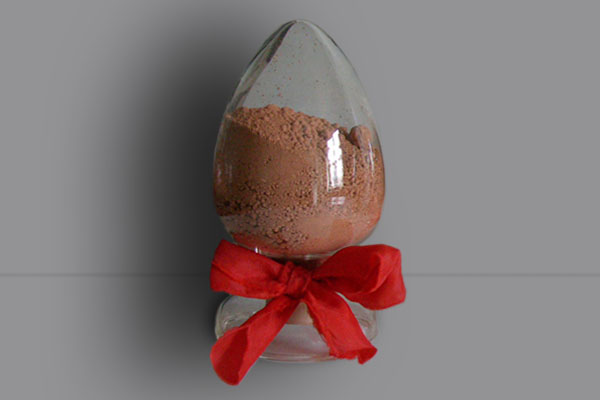
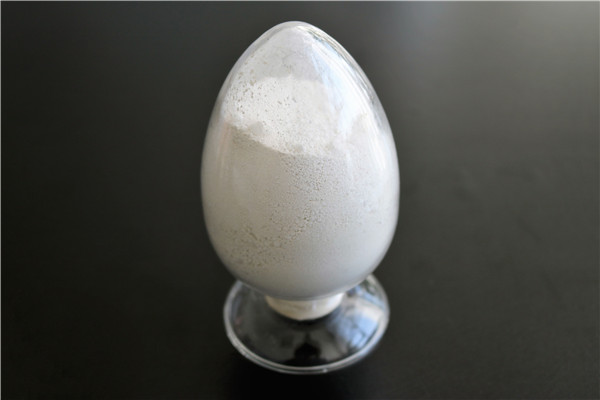
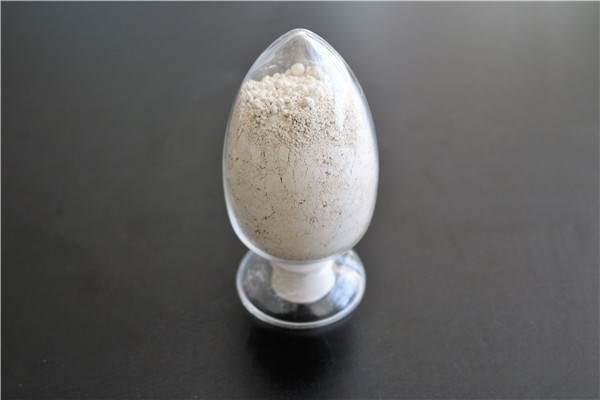
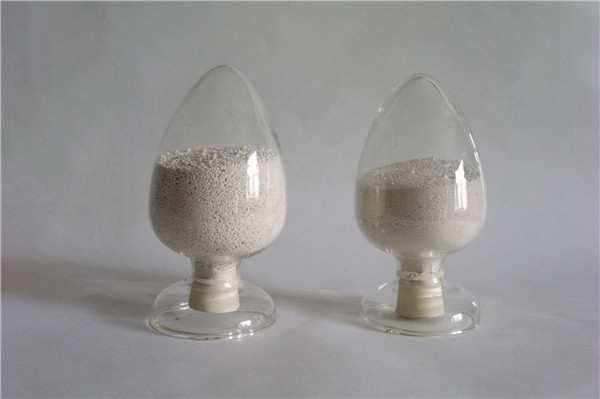
乐动游戏(中国)官方网站IOS/Android通用版,成立于1995年12月,于1997年8月建成投产,作为国内早期从事集稀土抛光材料生产、研发、销售于一体的高新技术企业,乐动游戏(中国)官方网站IOS/Android通用版清美长年专业深耕稀土抛光材料领域,坚持稳健经营、持续创新、开放合作,助推稀土抛光材料行业续航发展。
乐动游戏(中国)官方网站IOS/Android通用版清美公司先后通过了ISO9001质量管理体系认证,ISO14001环境管理体系认证,ISO45001职业健康安全管理体系认证,ISO50001能源管理体系认证。具备9000吨/年的稀土抛光粉生产能力,已形成5个系列40余种规格型号的产品规格,是中国稀土行业协会抛光材料分会会长单位。
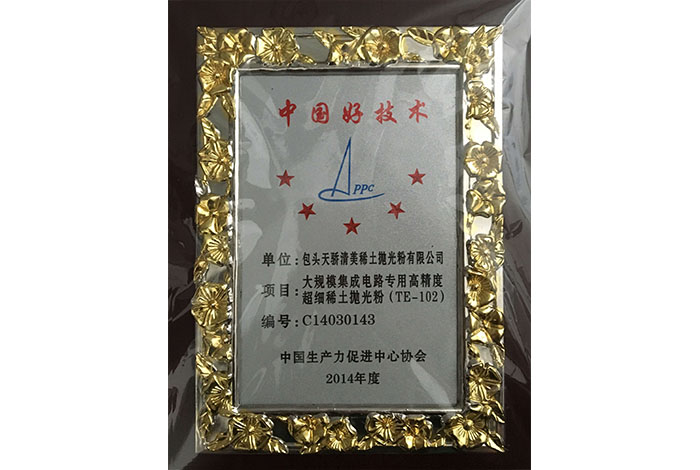
Corporate honor
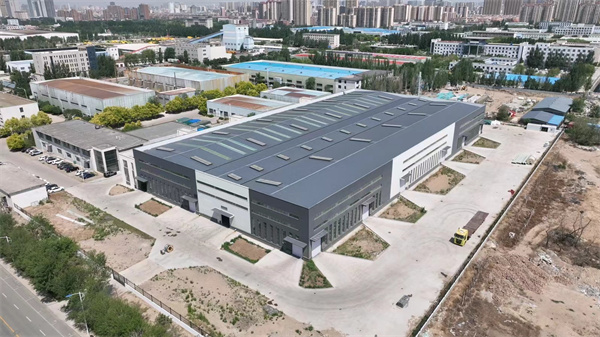
公司坐落于塞北草原钢城——内蒙古自治区包头市,秉承包钢(集团)公司“坚韧不拔,超越自我”的企业精神,坚持以员工为本,以客户为本,将“员工利益最大化、客户满意度最高”作为发展动力,以“注重人才培养、持续科研创新”作为发展基石,以“日益强大的生产技术实力、优秀专业的经营团队和先进科学的管理模式”作为强劲支撑,推动公司发展成为稀土抛光材料国际领先企业。

News information
乐动游戏(中国)官方网站IOS/Android通用版清美祝大家新春快乐、蛇年大吉! 万事如意!
2025-01-27乐动游戏(中国)官方网站IOS/Android通用版清美公司开展2025年元旦、春节期间廉政警示教育及节前集体廉政谈话
2025-01-27乐动游戏(中国)官方网站IOS/Android通用版清美公司召开2024年度党组织书记抓基层党建工作述职评议会
2025-01-27当好“两个稀土基地”建设主力军|助推稀土抛光材料迈向更高端 乐动游戏(中国)官方网站IOS/Android通用版清美稀土抛光液获国家发明专利
2024-11-04乐动游戏(中国)官方网站IOS/Android通用版清美起草的两项稀土抛光粉行业标准正式实施
2024-10-28乐动游戏(中国)官方网站IOS/Android通用版清美团总支组织开展稀土抛光粉工职业技能竞赛理论培训
2024-07-22乐动游戏(中国)官方网站IOS/Android通用版清美公司举办“匠心传承 筑梦乐动游戏(中国)官方网站IOS/Android通用版”榜样的力量——劳模、先进事迹宣讲
2024-06-24工业和信息化部公开征求《稀土开采和稀土冶炼分离总量调控管理办法(暂行)》《稀土产品信息追溯管理办法(暂行)》的意见
2025-02-21【合规管理】聚焦合规管理“三张清单”,深化企业合规
2025-01-27【稀土要闻】中国北方稀土三届三次职工代表大会、三届五次会员代表大会暨2024年度先进集体、先进个人表彰大会胜利召开
2025-01-27李强签署国务院令 公布《稀土管理条例》
2024-07-02【主题教育】全面贯彻习近平新时代中国特色社会主义思想 在推动解决大党独有难题上忠实履职尽责
2023-06-20牢记殷殷嘱托 勇担时代使命—习近平总书记在内蒙古考察时的重要讲话引发包钢干部职工热烈反响
2023-06-20习近平在内蒙古考察时强调 把握战略定位坚持绿色发展 奋力书写中国式现代化内蒙古新篇章
2023-06-20Party building dynamics

办公室电话:0472-6962770 / 销售部电话:0472-6962329 / 传真:0472-6962968 / 邮编:014030
地址:内蒙古包头市稀土高新技术开发区校园路东39号

手机二维码

微信二维码